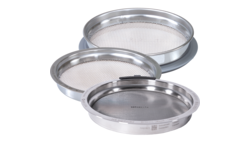
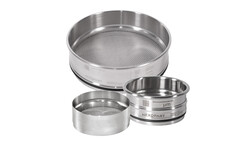
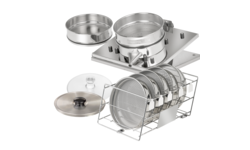
Precise test sieves
Buy high-quality and precise test sieves for every application
NEXOPART test sieves for particle size determination are specially designed to meet the requirements of a measuring device in accordance with ISO/IEC Guide 99:2007. Our sieves are characterized by high precision and exceptional durability. We guarantee that all test sieves are manufactured in accordance with current standards, ensuring outstanding accuracy and stability.
We use first-class frame materials and a particularly durable sieve construction developed by our team to manufacture our test sieves. Careful manufacturing guarantees a long service life and flawless functionality of the sieves. They are suitable for all testing conditions and always deliver reliable results. We understand the importance of ease of use in your everyday laboratory work and have tailored our sieves precisely to these requirements.
In addition to standard test sieves, the NEXOPART sieve range also includes special stainless steel sieves for grain and tobacco analysis, as well as square sieves with wooden frames. The particularly smooth surface of the frames prevents cross-contamination, while the sieve mesh retains its high tension even after intensive use. Whether manual sieving, classic sieving, or wet and dry sieving – with NEXOPART, you can reliably analyze bulk materials in the range from 5 µm to 125 mm.
Our product categories at a glance:
- Test sieves with aluminum frames – extremely sturdy
- Test sieves made of stainless steel – hygienic and corrosion-resistant
- Test sieves with wooden frames – sustainable and traditional
- Test sieves made of acrylic glass – corrosion-resistant and electrically non-conductive
- Test sieves funnels – for controlled handling of sieved material
Stability due to the clamping ring:
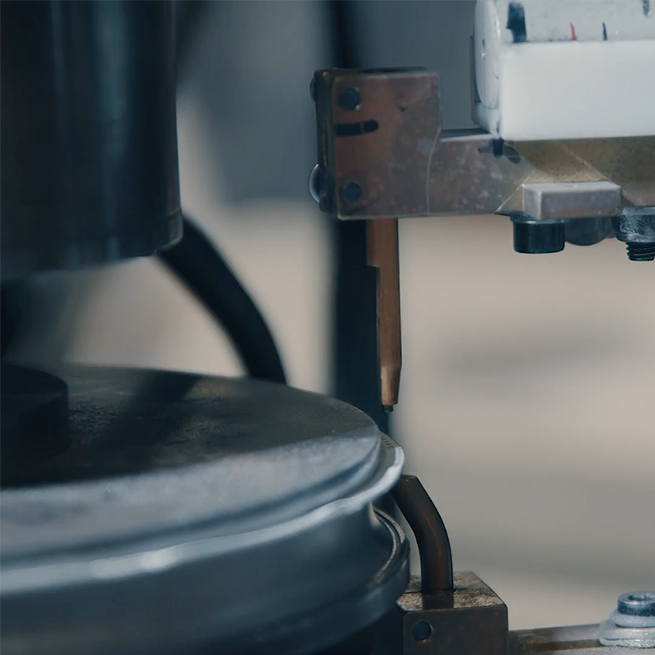
The sieve bottom is welded to the clamping ring. Additional fastening is carried out for very fine wire mesh between 20 µm and 45 µm. The clamping ring is pressed into the sieve frame, which gives it its stability. NEXOPART uses stainless steel for this purpose.
Individual and unique – laser marking
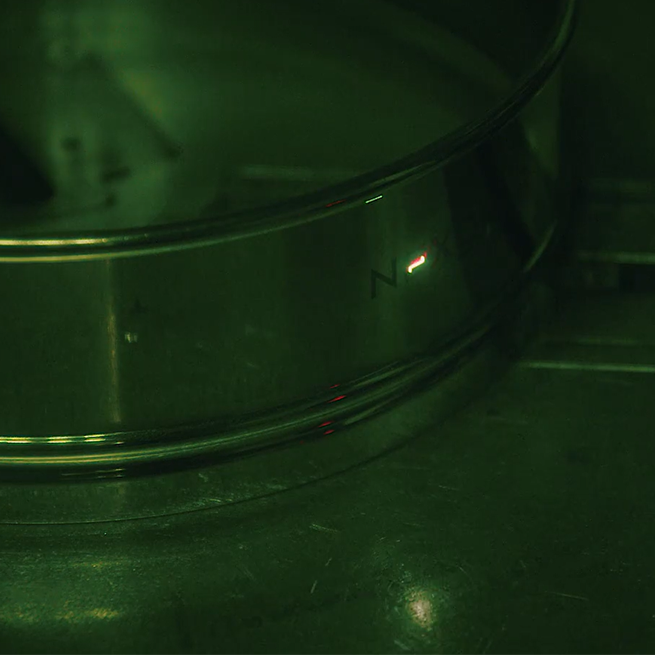
Our laser system uses laser technology to engrave the following information onto the test sieve:
- Standard
- Nominal width of the sieve bottom
- Material of the sieve bottom
- Material of the sieve frame
-
Serial number with calendar week, year, and sequential number
Certification and calibration of test sieves with wire mesh
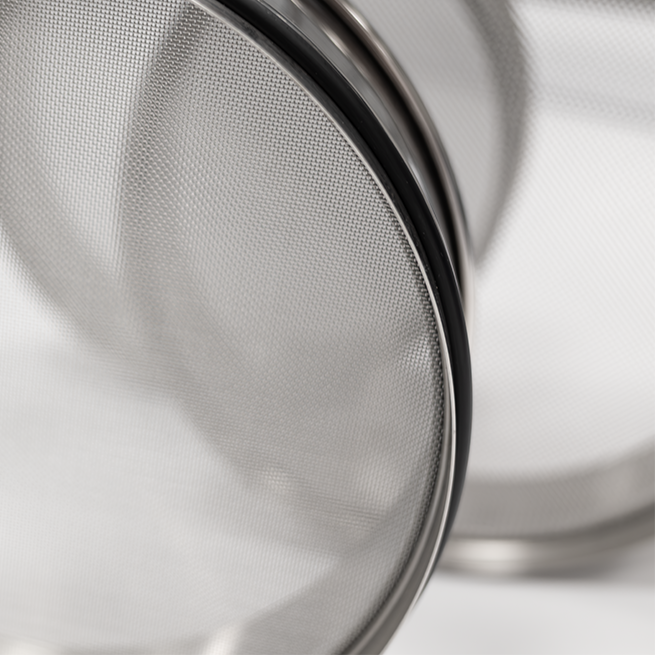
In addition to the standard factory certificate 2.1, NEXOPART also offers certification and calibration in accordance with DIN ISO 3310. During calibration, up to three times more meshes are measured. NEXOPART also offers this service on site. Our experts can measure your test sieves in Germany, Austria and Switzerland and the BENELUX countries using the mobile BSA measuring system. An accredited calibration laboratory (DakkS) in accordance with DIN EN ISO / IEC 17025 has been offered as a service by our parent company Haver & Boecker since 2023.
Difference between certification, calibration and DAkkS calibration according to DIN standard
| Certification | Measurement of the test sieves using an optical measuring system in the 20 µm - 2.0 mm range |
| Mesh and hole widths > 2.0 mm using a caliper gauge | |
| Standards: ISO 3310-1 and ISO 3310-2, ASTM E11 | |
| Electroformed sheet ISO 3310-3 > 20 µm | |
| Calibration | Up to 3 x more meshes are measured compared to certification |
| Measurement of the test sieves using an optical measuring system in the 20 µm - 2.0 mm range | |
| Mesh and hole widths > 2.0 mm using a caliper gauge | |
| Standards: ISO 3310-1 and ISO 3310-2, ASTM E11 | |
| DAkks Calibration | Measurement of test sieves using accredited measuring equipment |
| laboratory is accredited in accordance with DIN EN ISO /IEC 17025 DAkkS | |
| Calibration is carried out under special measuring conditions in accordance with ISO 3310-1 for test sieves |
Accessories for test sieves
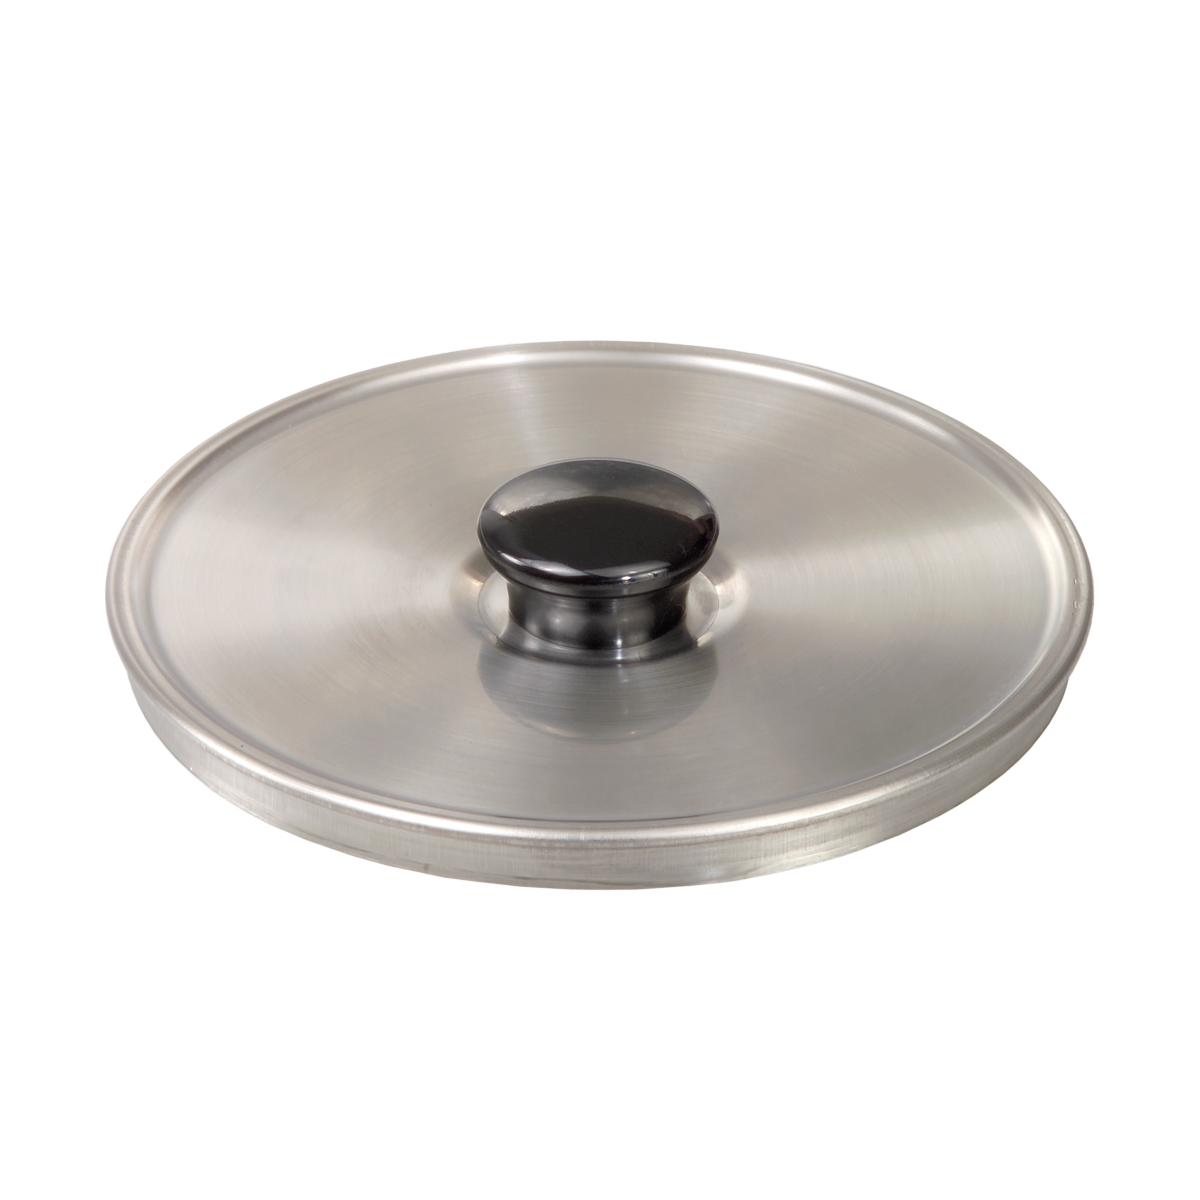
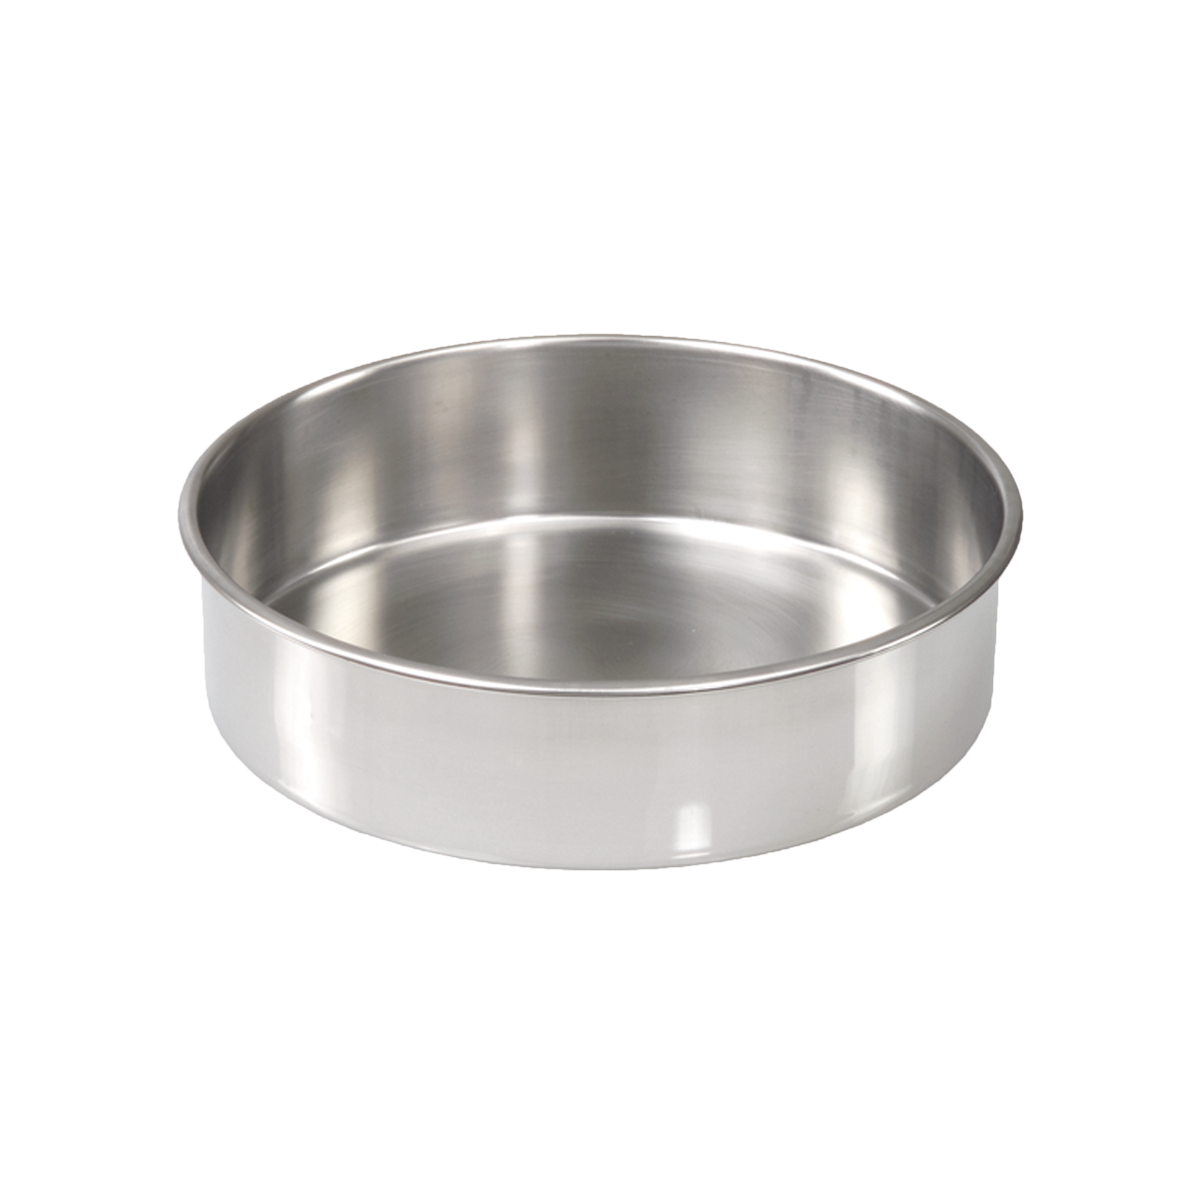
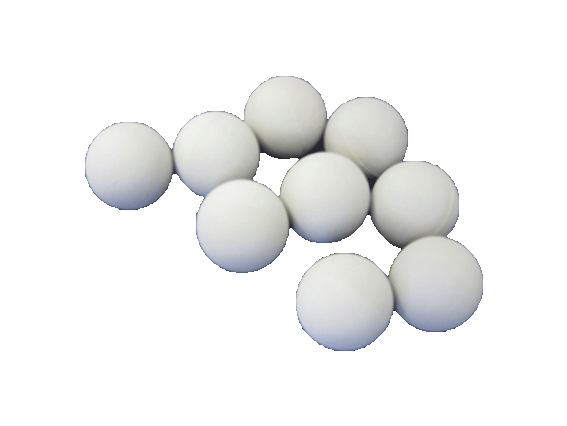
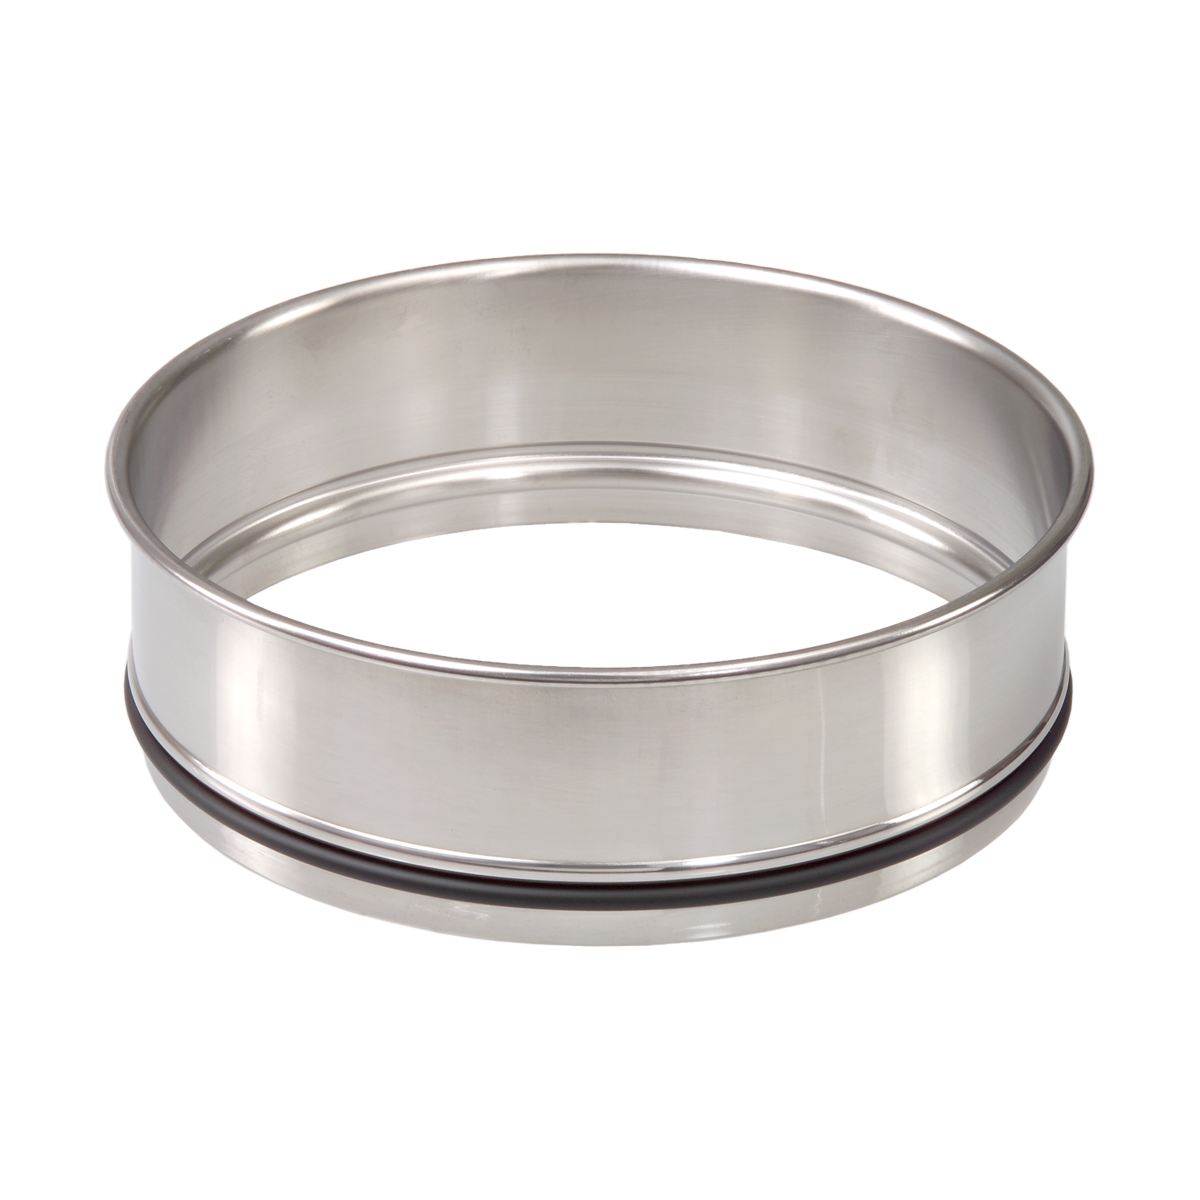
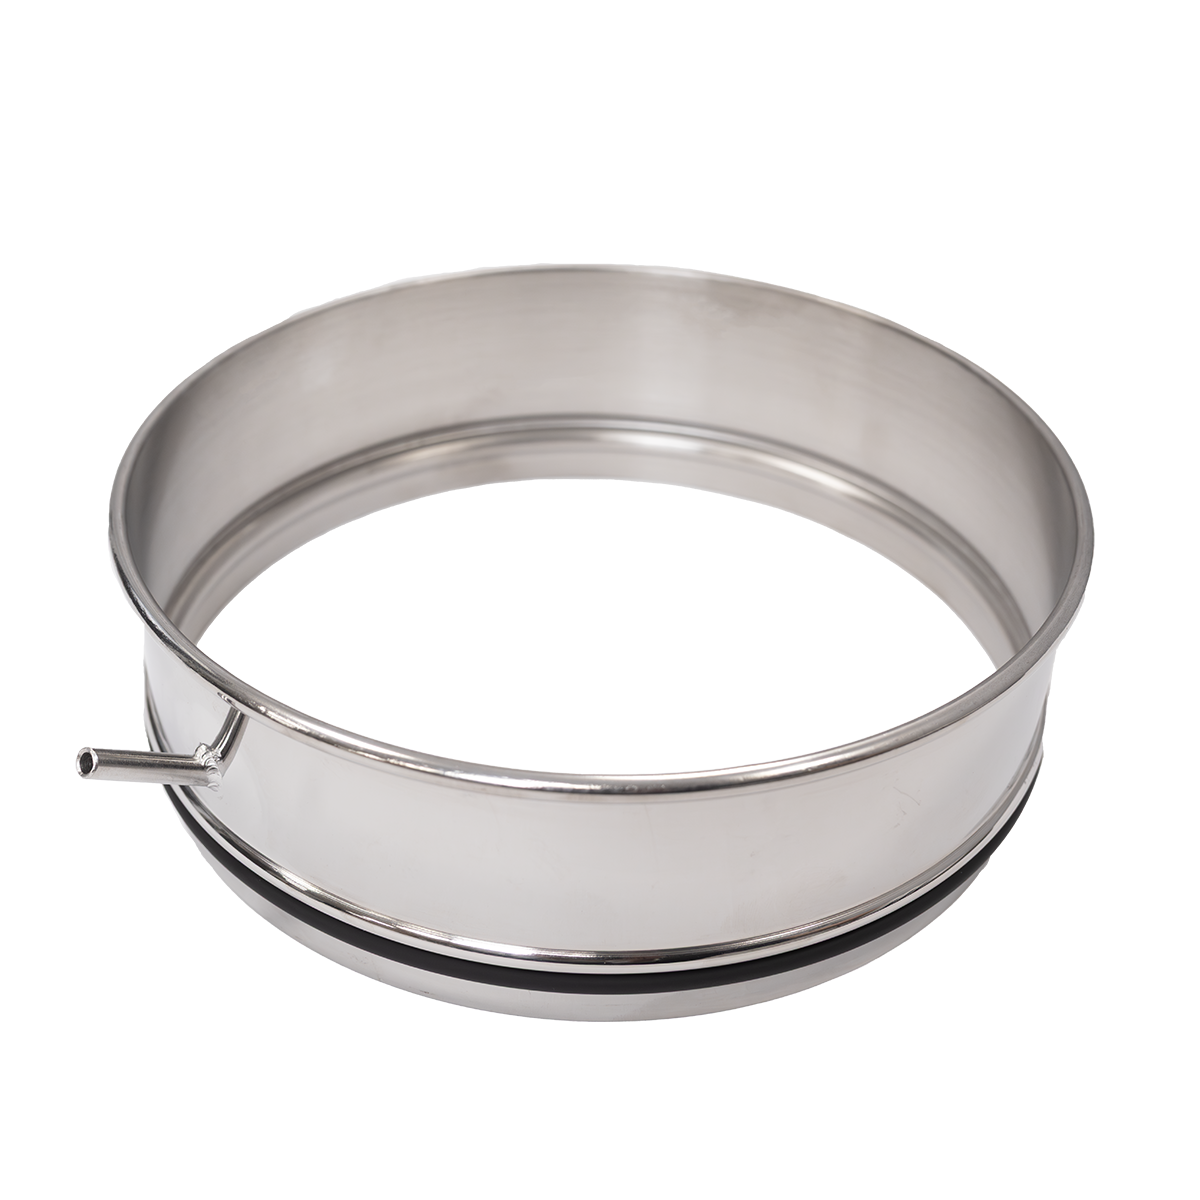
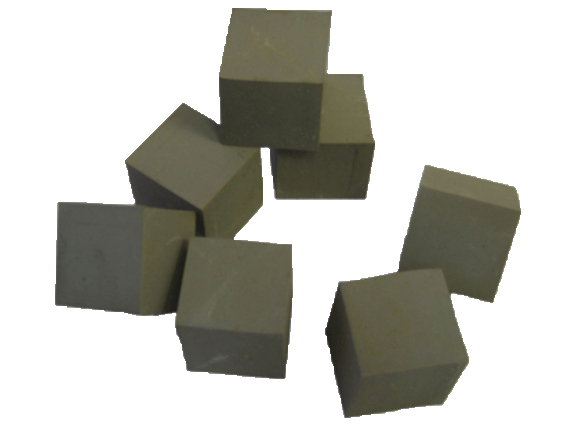
NEXOPART offers accessories ranging from sieve lids and sieve pans to Intermediate rings, rubber cubes, and rubber balls.
Your advantages with NEXOPART:
FAQ
What should you look for when purchasing a test sieve?
L
1. Norms and standards:
Common standards are DIN EN ISO 3310 for metal test sieves and ASTM E11 as the American standard. It is important that the test sieve has a certification, such as a factory test certificate or a calibration certificate.
2. Mesh size / nominal size:
The mesh size (e.g., 63 µm, 500 µm, or 2 mm) must be precisely matched to your application. Especially with fine sieves, the tolerances of the mesh size should be as small as possible.
3 Sieve frame material:
Stainless steel is considered the standard material due to its corrosion resistance and durability. Alternatively, acrylic glass (for special applications) or aluminum can be used.
4. Sieve mesh:
Stainless steel mesh is most commonly used. Etched nickel sheets are also available for special requirements.
5. Frame diameter and design:
Common diameters are for example: 200 mm, 300 mm or 8 inches. Make sure that the sieve is compatible with your analyzer or sieve tower. Available designs are flat, with a rim and with a clamping ring.
6. Area of application:
Is it dry or wet sieving? For wet sieving, the sieves must be particularly corrosion-resistant. When using aggressive substances, chemical resistance is also important.
7. Certificates & traceability:
Calibration certificates such as DAkkS are indispensable for quality-essential applications. Serial numbers and complete traceability make audits much easier.
8. Price-performance ratio:
High-quality sieves are more expensive, but they offer a longer service life and more precise results. Inexpensive products may have inaccurate mesh sizes or be of inferior workmanship.
How do I select the right sieve size/ mesh size for my application?
L
1. Define the aim of the sieving:
What particle size needs to be separated or analyzed? Is the aim to determine a particle size distribution (e.g., for sand, flour or granulate) or a specific particle size (e.g., all particles below 250 µm)?
2. Knowledge of the particle size distribution:
If you already have a grain size analysis, for example through laser diffraction or previous sieving, you can select suitable mesh sizes. Example: If 90% of the particles are smaller than 500 µm, it is recommended to use sieves with mesh sizes of 500 µm, 250 µm, 125 µm, and so on.
3. Selection of mesh sizes (nominal sizes):
Standard sieve sizes are based on geometric series such as:
ISO series R20/3: for example, 1000 µm, 710 µm, 500 µm, 355 µm, 250 µm, 180 µm, 125 µm, 90 µm, 63 µm, 45 µm. For classic sieve analysis, five to eight sieves are often used in descending order.
4. Consideration of material properties:
For moist or sticky samples, a larger mesh size or wet sieving is recommended. Very fine powders below 63 µm may require the use of ultrasonic or air jet sieving.
5. Selecting the right analyzer:
Is the selected sieve size compatible with your sieving device? Some devices set limits on the minimum or maximum mesh size.
6. Compliance with standards and regulations:
In many industries, such as construction, pharmaceuticals and food, certain sieve sizes are mandatory (e.g., according to DIN EN 933 or ISO 565).
What is the typical service life of a test sieve?
L
1. Frequency of use:
Ein täglicher Einsatz in Produktion oder Qualitätskontrolle führt zu einem schnelleren Verschleiß. Eine gelegentliche Verwendung im Labor hingegen sorgt für eine deutlich längere Haltbarkeit.
2. Material and quality of the sieve:
High-quality stainless steel sieves that meet the requirements of ISO 3310 can last for several years if carefully maintained. Cheaper or non-standard sieves are more prone to deformation and material fatigue.
3. Nature of the material:
Abrasive substances such as sand, cement or metal powder cause increased wear. Fine and soft powders, such as flour or plastic granulate, put less strain on the sieve.
4. Type of sieving process:
Mechanical stress caused by vibrating sieve shakers or air jet sieving shortens the service life. Manual sieving, on the other hand, is gentler on the material.
5. Cleaning and care:
Careful cleaning, for example with soft brushes or in an ultrasonic bath, helps to extend the service life. Aggressive cleaning methods such as the use of compressed air or hard brushes can damage the sieve mesh.
